Replacing your roof is one of the most significant investments in your home’s structure and long-term value. While feeling overwhelmed by the project’s scope is easy, knowing what to expect can help ease the stress and improve the overall experience. From the first consultation to the final inspection, each step of the roofing replacement process involves important considerations that can affect your home’s durability, appearance, and safety. We will explore the key phases of a full roofing replacement project, highlighting the practical details homeowners should anticipate.
A Step-by-Step Guide to the Roofing Replacement Process
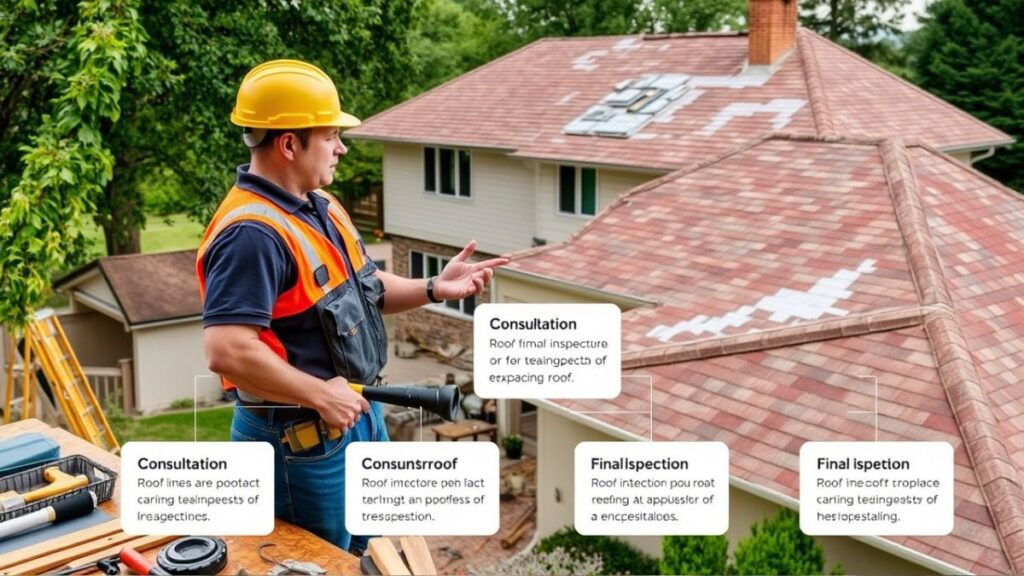
Initial Consultation and Inspection
Before any shingles are removed or materials are ordered, the roofing process starts with a thorough consultation and inspection. This visit is more than just a walk around the house; it involves a full assessment of the current condition of your roof, attic ventilation, gutter alignment, and even your home’s exterior structures. A project manager or roofing technician will evaluate signs of damage, aging, rot, mold, or water infiltration. This evaluation determines whether a full roofing replacement in Hendersonville is necessary and what materials will work best for your climate, budget, and preferences.
You’ll also receive a detailed proposal outlining estimated costs, project timelines, and material choices. This is your opportunity to ask questions, review warranties, and understand what’s included in the scope of work. It’s also the stage to align expectations around cleanup, noise levels, and working hours. Preparing at this stage makes the following steps more predictable and efficient.
Planning, Permits, and Scheduling
Once you agree to move forward, the roofing company begins the planning phase. During this stage, permits are acquired from your local municipality to ensure the work complies with zoning laws and building codes. Depending on your location, this could take a few days or up to a few weeks. Scheduling also plays a critical role here. Roofing work is highly weather-dependent, so contractors monitor forecasts to determine the best start date.
Material procurement also happens during this window—shingles, flashing, underlayment, nails, and ventilation accessories are ordered and delivered ahead of time. You may also be given tips for preparing your home and property, such as moving patio furniture, covering items in your attic, and informing your neighbors about potential noise. This phase ensures that your roofing crew and household are ready when installation begins.
Tear-Off and Preparation
On the first day of actual work, the crew begins with the tear-off phase, removing the old shingles and underlayment to expose the roof decking. This step is noisy and labor-intensive, often involving pry bars, nail pullers, and power tools. Debris will fall from the roof, so the surrounding areas are typically covered with tarps, and a dumpster is placed nearby for waste collection. During tear-off, unexpected issues, such as rotted decking, damaged flashing, or structural weaknesses, can arise. If this happens, the team will address these problems before moving forward.
While it can affect the timeline or cost, resolving such problems now prevents bigger issues in the future. It’s important to keep communication open with your roofing team so you’re aware of any adjustments. Once the surface is cleared and evaluated, the crew begins preparing the surface with protective materials like ice and water shields, synthetic underlayment, and drip edge installation.
Installation of New Roofing System
With the surface prepped, the actual installation begins. This part of the process varies depending on the materials selected—asphalt shingles, metal panels, or other roofing systems—but typically starts at the bottom edge of the roof and works upward. Shingles are nailed in overlapping rows, ensuring water flows off the roof rather than seeping underneath. Valleys, vents, chimneys, and skylights are carefully sealed with flashing to prevent leaks.
Ridge vents or other ventilation components are installed last, allowing your attic to “breathe” and preventing moisture buildup. The transformation becomes visible in this phase, and the new roof begins taking shape. The duration of installation depends on roof size, design complexity, and weather conditions, but usually takes one to three days. Crew members often work methodically to ensure every detail—from alignment to sealing—is done with care, reducing the chances of future maintenance issues and increasing the lifespan of your roof.
A full roofing replacement project may seem daunting initially, but understanding each phase can make the experience more manageable and rewarding. Every step from the initial inspection to the final walkthrough is crucial in ensuring your home is protected, your investment is worthwhile, and your property maintains its value. Clear communication, careful preparation, and choosing a reliable roofing partner are essential to a successful outcome. When done correctly, a roof replacement is more than just a construction project—a significant upgrade in your home’s safety, efficiency, and long-term resilience.