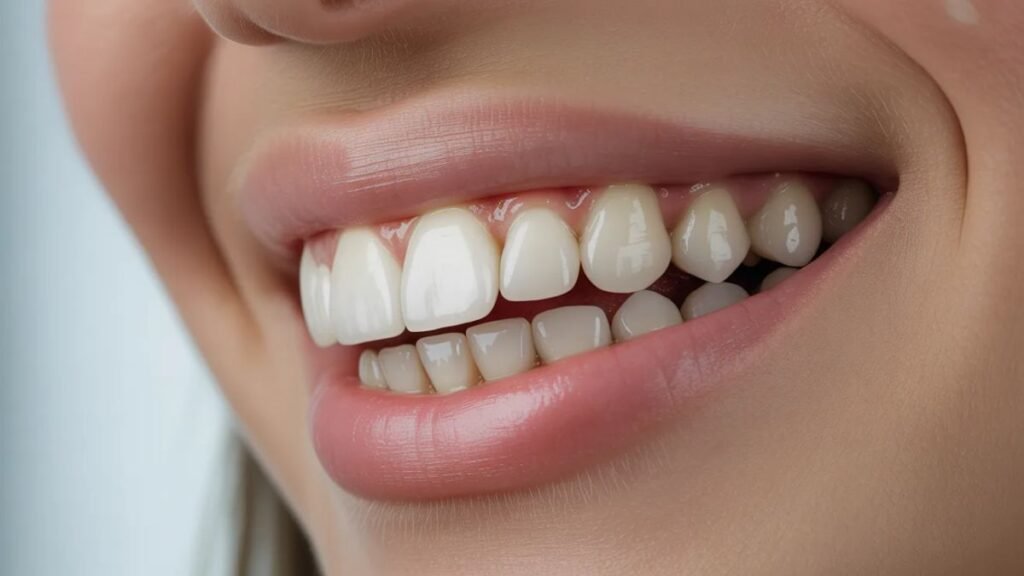
A white smile can change how you feel when you speak, smile, or meet someone new. You may want brighter teeth, but you might feel unsure where to start. Some options use trays at home. Others use fast office visits. Each choice affects your time, your budget, and your comfort. This guide gives you four clear steps so you can match a Teeth Whitening method to your daily routine. You will learn how stains form, what results you can expect, and how to protect your teeth during treatment. You will also see when store products are enough and when to look for cosmetic dentistry in Weston, MA. You stay in control. You choose what fits your schedule, your habits, and your goals. You deserve clear facts, not pressure. This blog offers that clarity so you can move forward with confidence and calm.
Step 1: Know What Causes Your Tooth Stains
First, understand why your teeth look darker. That helps you choose a method that can actually work.
- Surface stains. Coffee, tea, red wine, and tobacco leave color on the outer layer of the tooth. These stains often respond to whitening products.
- Deep stains. Aging, trauma, some medicines, and past infections can change the color inside the tooth. These stains may need care from a dentist.
- Thin enamel. As enamel wears away, the yellow layer under it shows more. Whitening can only do so much in this case.
The American Dental Association explains that many whitening products use peroxide to change tooth color.
Once you know the kind of stain you have, you can set fair hopes. Surface stains often need less time and cost. Deep stains may need a dentist to review your teeth and your health history.
Step 2: Match Whitening Options To Your Daily Life
Next, compare the main methods. Think about your time, your pain tolerance, and how much guidance you want from a dentist.
| Method | Where You Use It | Time Needed | Cost Range | Best For |
| Whitening toothpaste | Home | Twice daily for weeks | Low | Mild stains and stain prevention |
| Store strips or trays | Home | 30 to 60 minutes a day for 1 to 2 weeks | Low to medium | Surface stains and first time whitening |
| Dentist made trays | Home with dentist guidance | Hours per day for 1 to 2 weeks | Medium | Deeper stains and custom fit |
| In office whitening | Dentist office | One or two visits | Higher | Fast results and strong stains |
Think about three questions.
- How many minutes can you set aside each day?
- How soon do you want to see a change?
- How much can you spend right now?
Daily use products fit people who like slow change and lower cost. Office care fits people who want quick results and close monitoring from a dentist.
Step 3: Check Safety and Protect Your Teeth
Every whitening method has risks. You protect your mouth when you choose safe products and clear guidance.
- Look for trusted seals. Some whitening toothpastes carry the ADA Seal of Acceptance. This means the product meets safety and effectiveness claims when used as directed.
- Know the side effects. You may feel tooth pain during treatment. Your gums may feel sore. These effects usually fade when you stop use or switch products.
- Protect your enamel. Heavy use of strong products can wear enamel. Follow directions. Do not extend use without talking with a dentist.
The U.S. National Library of Medicine shares clear facts about tooth whitening risks and benefits through MedlinePlus. You can review their resource at MedlinePlus Teeth Whitening before you start.
Before you use any whitening method, ask yourself three things.
- Do you have untreated cavities?
- Do your gums bleed when you brush?
- Do you have crowns, veneers, or fillings on front teeth?
Whitening products do not change the color of fillings or crowns. That can leave uneven color. A dentist can help plan around that or suggest other options.
Step 4: Talk With A Dentist And Plan Your Next Moves
Finally, connect with a dentist who can review your mouth and help you plan. You keep the final say. The dentist gives facts and options.
During a visit, you can expect three key steps.
- Exam and cleaning. The dentist looks for decay or gum disease. A cleaning removes plaque and tartar that block whitening.
- Shade check. The dentist records your starting tooth color. This helps measure change and guide your choice of method.
- Plan and follow up. You discuss home products, dentist trays, or in-office whitening. You set a schedule to check progress.
For some people, a dentist may say whitening is not safe right now. For example, during pregnancy, with untreated gum disease, or with large untreated cavities. In those cases, you focus on treatment first. Whitening can come later.
You can return to store products after dental care to help keep the new shade. You can also use whitening toothpaste and regular cleanings to slow new stains.
Put It All Together
Choosing a whitening method is not about chasing a perfect smile. It is about feeling steady when you speak, laugh, and eat with others. When you understand your stains, match options to your life, protect your teeth, and work with a dentist, you lower risk and raise your chance of clear, steady results.
Start with small steps. Cut back on dark drinks. Use a soft brush. Keep regular checkups. When you feel ready, choose the whitening path that fits your time, your budget, and your comfort. Then move at your own pace, with clear eyes and firm choices.